Mess free finger painting: DIY kid art you'll actually keep
Listen, I love the little scribbles my 15-month-old daughter makes. And I also love the more intricate crayon designs my 5-year-old niece gifts me every time we visit. And while I hoard these and treat them with the same reverence as I would precious jewels, they aren’t exactly something I want to hang in my home. No offense to the blue kitty cats and stick figures of the world, but it doesn’t really match the overall aesthetic I’m going for.
But I have found an easy, fun, mess-free art project that you can do with your kiddo -- and it will be so pretty, you’ll want to hang it up. Sound too good to be true? Girl, I got you.
Step 1: Gather Your Supplies
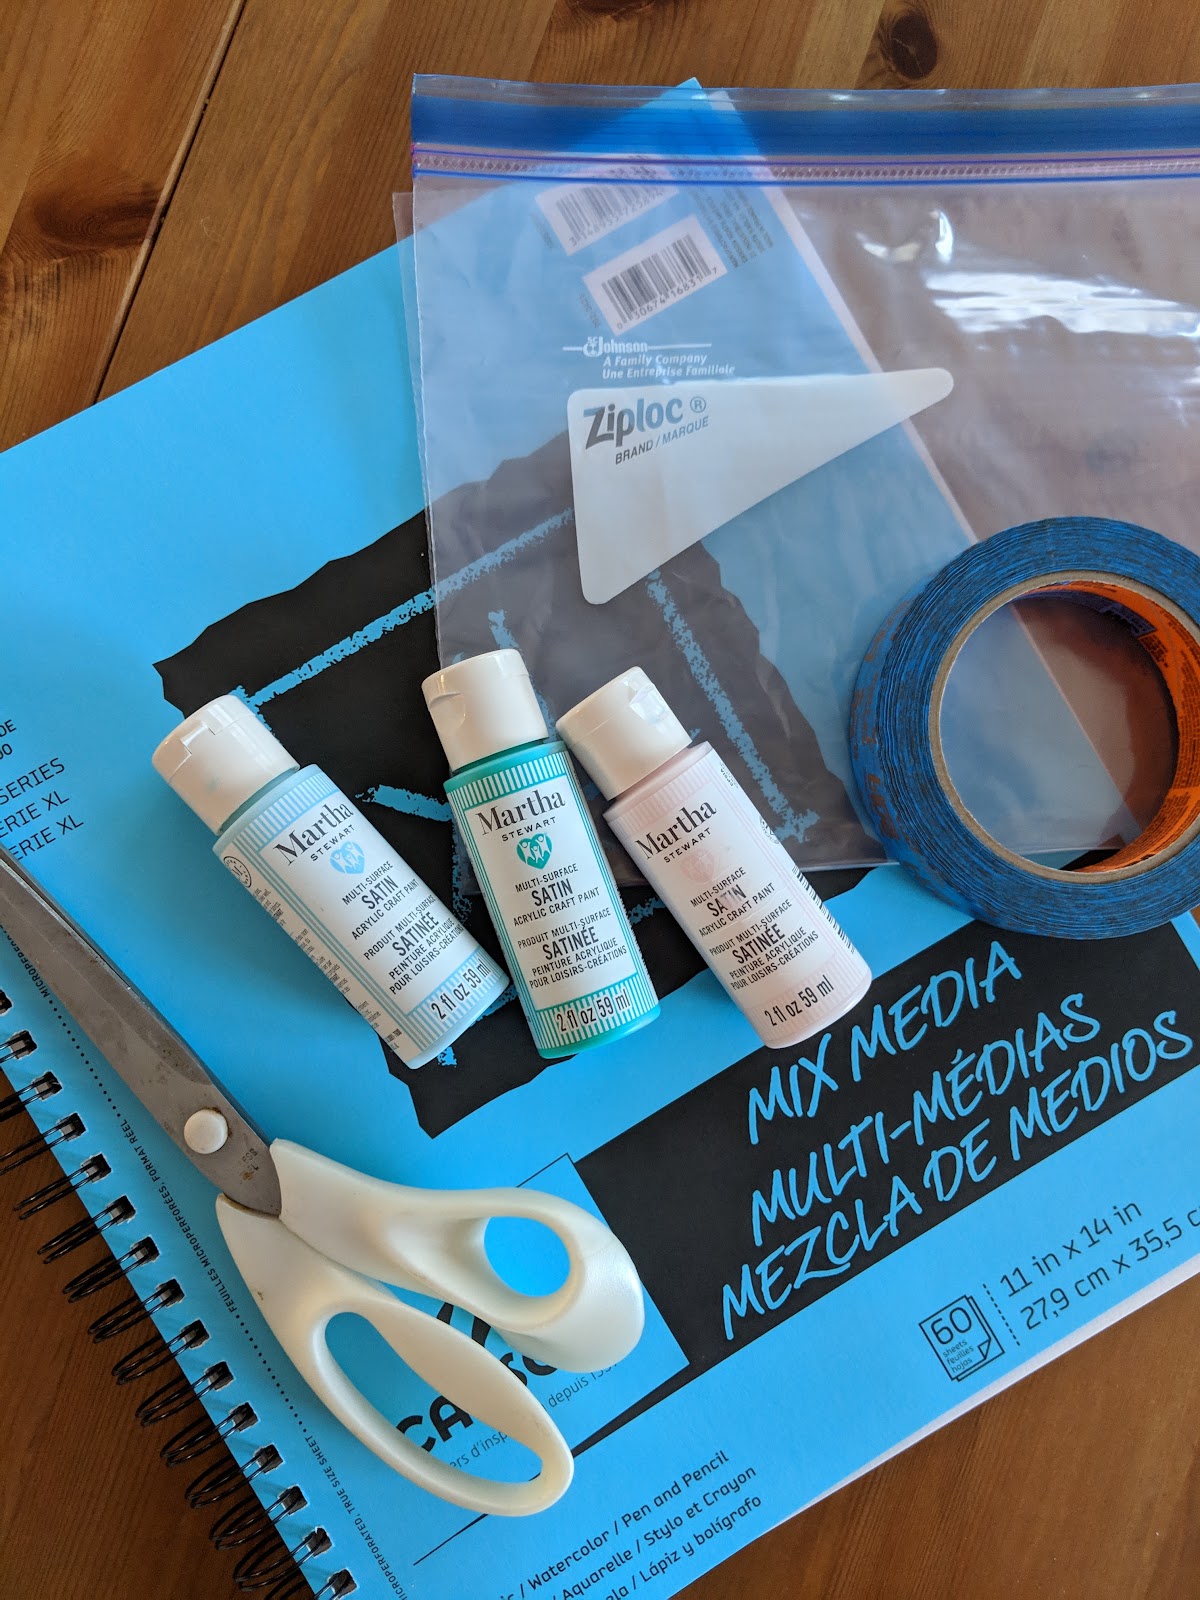
You’ll need:
Paper - I recommend mixed media paper. This can handle the paint - printer paper, not so much. Trust me, once you make one of these, you’ll be making them for everyone in your life (did I mention they make ah-MAH-zing gifts?), so you’ll use all the pieces in the pad eventually.
Large Ziploc bag - I use 2 gallon
At least 3 different colors of acrylic or craft paint
Tape
Scissors
Optional: spray bottle with water
Before we go any further, let’s talk about the paint. You may have seen tutorials about this kind of project on Pinterest that all suggest you get finger paint. The result? Something that looks like a kid made it. Which is great and all, but we’re trying to make something to display. Get your booty over to Michaels or another craft store and check out the aisle of craft paint. They come in small bottles like you see in the picture, and a TON of different options.
To make the piece interesting, you need at least 3 different colors. You want to choose colors that will complement your decor in the room where you’re hoping to display this. For mine, I went with Martha Stewart’s Satin Acrylic Craft Paint in Jungle Green, Bubbles and Pink Tutu. She has oodles on on-trend colors (plus glitter paint, if you’re about that life) and finishes - plus, the paint is multi-surface, meaning you can use what you have left over to paint some accents on a vase, frame or little tchotchke to enhance your new piece of art.
MORE DIY? We've gotcha covered. Learn how to make a baby clothes pillow right over here.
One last note on the paint. Do NOT choose complementary colors - that is, colors that are opposite one another on the color wheel. Why? Because when they are mixed, they are going to turn into a brown, gray sludge - not cute. Combos to avoid include green and red, blue and orange, and yellow and purple.
Step 2: Dot paint on paper.

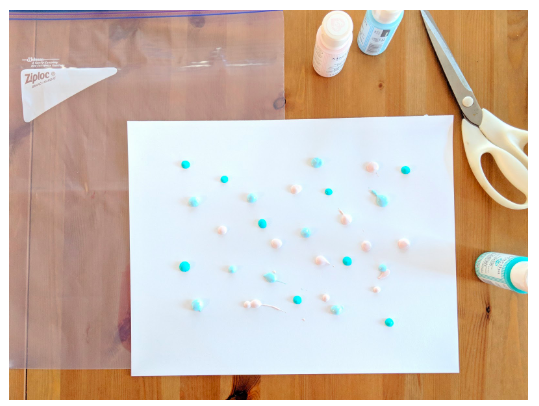
Once you have all your supplies together, you can begin dotting your paper with your different colors. Keep the dots pretty close together to ensure the paper is mostly covered, but don’t worry about going all the way to the edge - you’re going to trim the paper down the size you need for your frame.
How your distribute the different colors is totally up to you, but I like to keep them pretty evenly balanced to ensure we have a good mix of colors in the final piece.
Step 3: Slide paper into Ziploc bag and seal.
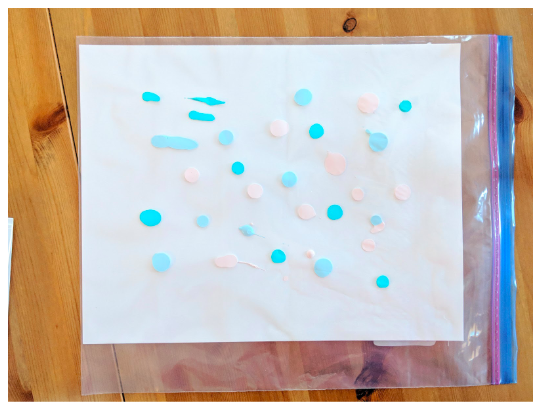
You may smudge some of the paint on this step, but not to worry - that’s kinda the whole point. When you seal the bag, give it a double check - this will become a BIG mess real quick if you don’t seal it properly.
And here’s a tip. Fill a spray bottle with water and give the paper a few spritz before you put it in the bag - it will help the paint blend and move a bit more easily for little hands. Again, just be sure you’re using a paper that is heavy duty enough to handle it.
Step 4: Tape to a flat surface and start painting!
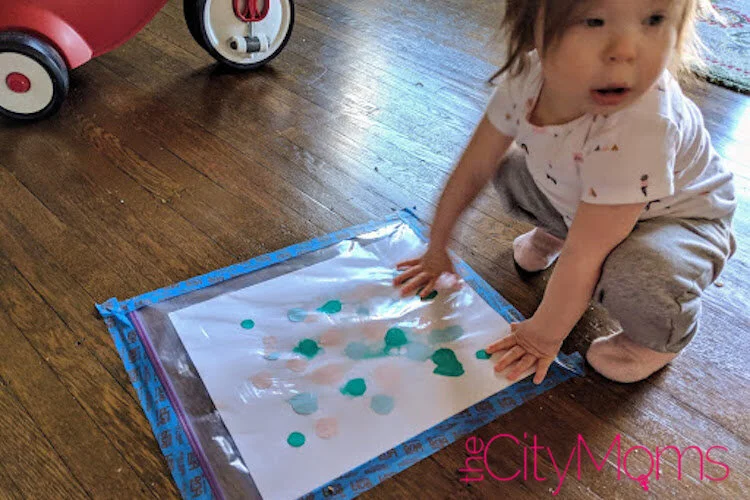
You can skip the taping if your child is older, but if left to her own devices, my daughter will just throw around the baggie full of paint. Taping it down ensures that she can use her hands, feet, knees, toy truck or whatever she wants to use to start spreading the paint around. We were able to get some very cool textures during one of our paint sessions when she used her little zebra walker to run over it a few times.
Step 5: Remove from bag to dry.


You can just pull it out of the bag, or use the scissors to cut along the long edge of the Ziploc bag - I find this a little easier!
Step 6: Cut and frame.

Once your painting is dry, cut it down to size. Depending on the size of your paper and the size of your intended frame, you may be able to get a couple pieces out of the painting. Be sure to have your child sign and date the back (or if they’re too young, you can do it!), and then display for the world to see!
WE'RE STILL IN AWE OVER KIM'S LAST POST: Your Brain on Baby: Mind-Altering Impact of Motherhood
This is a very simple project with a whole lot of possibilities - plus, it’s a great indoor activity to get you through the never-ending Indiana winter. If you try this out with your child, be sure to share pic and tag @thecitymoms. Happy painting!